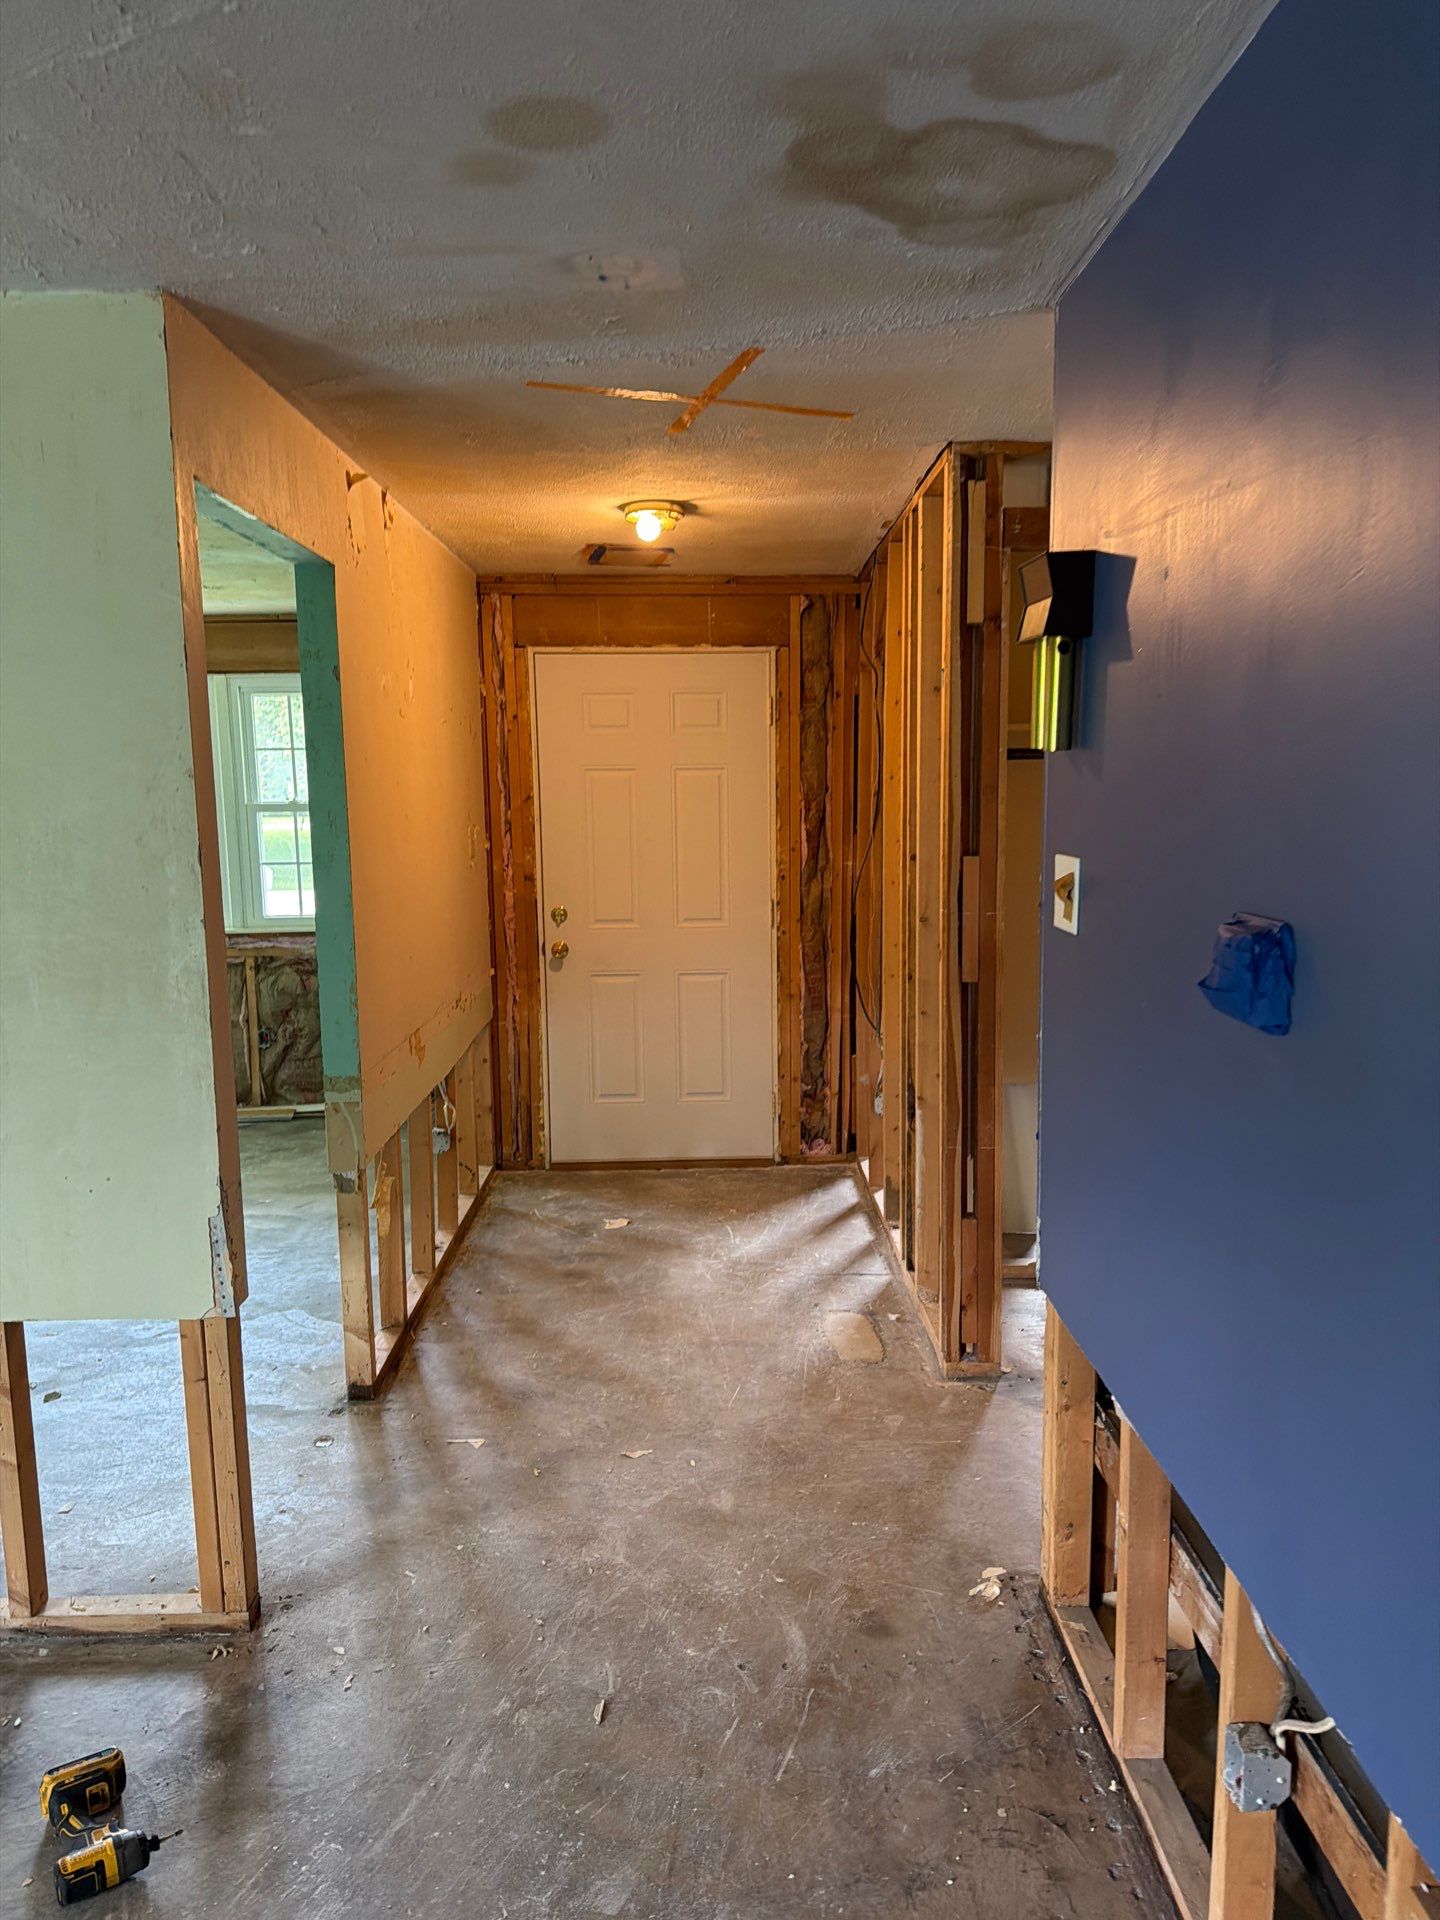
Step 1: Stabilize the Scene (First 5 Minutes)
- Cut power to the affected room at the breaker panel if water is near any fixture, can light, or junction box.
- Move furniture and electronics at least 6 feet from the wet zone, or cover with 6 mil poly sheeting.
- Place a 5 gallon bucket directly under the lowest sag point.
- If the ceiling is bulging more than 1 inch, puncture the center with a screwdriver to release trapped water in a controlled stream. A full bulge failure can drop 15 to 40 pounds of water at once.
- Photograph everything before you touch it further. Insurance carriers want timestamped images of the original condition.
- Lay down absorbent towels or contractor pads in a 4 foot radius around the drip zone to protect flooring from secondary staining.
- Open a window or run a box fan pointed outward to start reducing interior humidity before professional equipment arrives.
Step 2: Locate and Stop the Source
- Identify the room directly above the damage. In a single story home, move to the attic.
- Check the four most common sources in this order: supply line at a toilet or sink (60 percent of ceiling leaks), tub or shower pan failure (20 percent), roof penetration or ice dam (15 percent), HVAC condensate line (5 percent).
- Shut the local supply valve, or close the main at the meter if the source is unclear.
- If the leak is roof related, place a tarp weighted with sandbags over the exterior penetration before any interior work continues.
- For HVAC condensate leaks, check the secondary drain pan and the float switch. A clogged primary line often presents as a slow ceiling stain directly under an air handler.
- Test shower pans by plugging the drain, filling 1 inch of water, and marking the level. A drop of more than 1/8 inch in 24 hours confirms pan failure.
If the source is a burst supply line, our burst pipe water damage guide walks through pressure testing and repair cost ranges specific to Williams Creek plumbing stock.
Step 4: Moisture Mapping
- Use a pinless moisture meter to scan the ceiling in a grid pattern at 12 inch intervals.
- Mark any reading above 16 percent moisture content with painters tape.
- Extend the scan 24 inches past the last wet reading in every direction. Water travels laterally along the top plate of drywall faster than it drops.
- Check the wall cavities directly below the wet ceiling. Capillary action pulls moisture down studs at roughly 1 inch per hour.
- Take a baseline reading from a dry section of the same ceiling for comparison. Target dry standard in Williams Creek homes is 8 to 12 percent for painted drywall.
- Confirm hidden migration with a thermal imaging camera. Temperature differentials of 2 to 5 degrees F typically indicate residual moisture behind finished surfaces.
Step 3: Classify the Water (IICRC S500)
- Category 1 (clean): supply lines, rain through roof, refrigerator lines. Drying only.
- Category 2 (gray): dishwasher discharge, tub overflow, aquarium. Drying plus antimicrobial treatment.
- Category 3 (black): sewage backup, ground water, toilet flood from below the trap. Removal and replacement of porous materials required.
- Reclassify upward if water has been sitting more than 48 hours. Category 1 degrades to Category 2 within 48 to 72 hours at room temperature.
Ceiling assemblies contaminated with Category 3 water cannot be salvaged under IICRC standards. The drywall, insulation, and any porous trim must come out. For sewage-related ceiling damage from an upstairs toilet, see our sewage cleanup service page for the decontamination protocol Williams Creek Water Restoration follows.
Step 8: Final Verification
- Re-scan all original wet grid points to confirm sustained dry readings.
- Inspect the cavity above with a borescope before closing the final access cut.
- Document all readings, equipment runtime, and material removals for the insurance file.
- Provide the homeowner a copy of the IICRC compliant drying log.
- Schedule a 30 day follow up moisture check to confirm no return of elevated readings from a slow secondary leak.
Common Failure Points to Recheck at 30 Days
- Recurring stain bleed through fresh paint. Indicates primer coverage gaps or active residual leak.
- Hairline cracks along the patched seam. Suggests joist movement from prior saturation cycles.
- Musty odor in the room. Points to insulation or framing moisture missed during initial drying.
- Visible sag returning at the original failure point. Requires immediate reinspection of the cavity above.
Step 5: Containment and Demolition
- Build a containment zone with 6 mil poly and a zipper door if the affected area exceeds 32 square feet.
- Set a negative air machine with HEPA filtration at 4 to 6 air changes per hour.
- Cut a 2 inch inspection hole at the wettest grid point. Inspect insulation above.
- If insulation is wet, remove it. Fiberglass loses 40 percent of its R-value when saturated and will not recover.
- For Category 1 water with less than 24 hours of contact, attempt drying in place. For everything else, remove drywall in full sheet sections back to the nearest dry joist.
- Bag all demolition debris in 3 mil contractor bags, double tied, before exiting the containment zone.
Step 7: Reconstruction Specifications
- Replace removed drywall with 1/2 inch standard for 16 inch on center joists, 5/8 inch for 24 inch on center.
- Use moisture resistant green board only if the source risk persists (under bathrooms, near roof valleys).
- Tape, mud, and sand in three coats. Allow 24 hours minimum between coats in Williams Creek humidity.
- Prime with a stain blocking primer (oil or shellac based) to lock any residual tannin staining.
- Repaint the entire ceiling plane, not just the patch. Spot painting on aged ceilings shows a 90 percent visible mismatch rate.
- Match existing texture (knockdown, orange peel, smooth, or popcorn) with a test panel on cardboard before applying to the ceiling.
- Replace insulation to the original R-value spec. R-38 is the minimum target for top floor ceilings in most Williams Creek climate zones.
Step 6: Structural Drying Setup
- Place one low profile air mover per 10 to 16 linear feet of wet surface.
- Add a commercial dehumidifier sized at 1 AHAM pint per 30 cubic feet of containment.
- Target conditions: 70 to 90 degrees F, 30 to 50 percent relative humidity.
- Take daily moisture readings at the same marked grid points.
- Drying is complete when readings hold within 2 percent of the dry standard for 24 hours.
- Reposition air movers every 24 hours to prevent dead zones. Aim airflow at a 45 degree angle to the wet surface for optimal evaporation.
Most Williams Creek ceiling jobs reach dry standard in 3 to 5 days. Plaster ceilings and ceilings with blown-in cellulose insulation can take 5 to 8 days. Full pricing across drying scenarios is in our water damage restoration cost breakdown.